VXDIAG VCX DoIP Connect and Update Guide
The new version VXDIAG VX Manager adds VCX DoIP options (DoIP update, DoIP firmware update, DoIP switch etc) and auto connection features. Check detail information below.
Current VCX DoIP devices available: VXDIAG JLR DoIP, VXDIAG VCX-DoIP Tester III
Double-click to open VX Manager 1.4.2.0927 setup
Accept license agreement
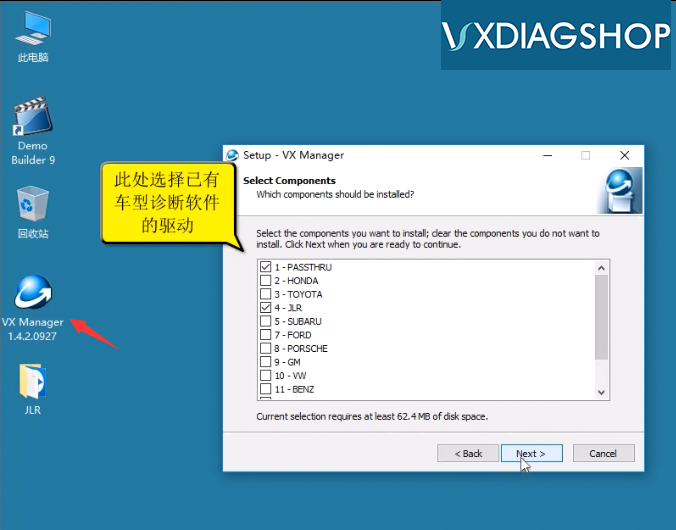
Select software driver you need to install
Here we select Passthru and JLR software
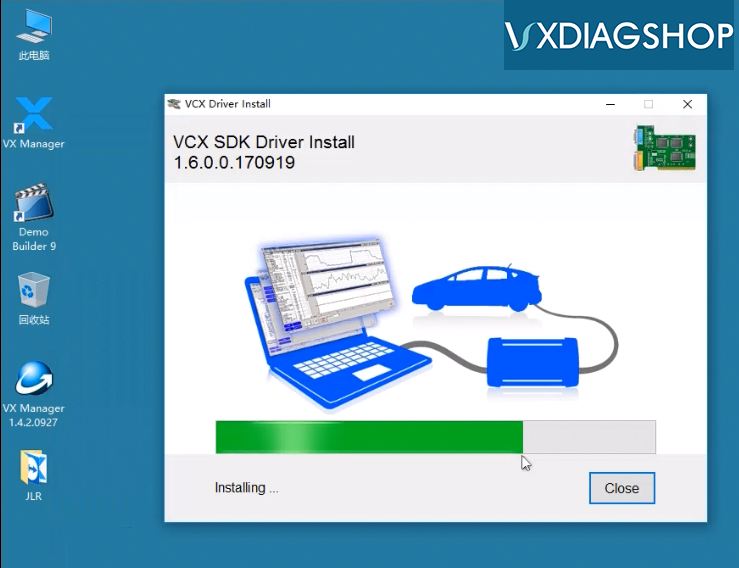
Installing the VX Manager setup
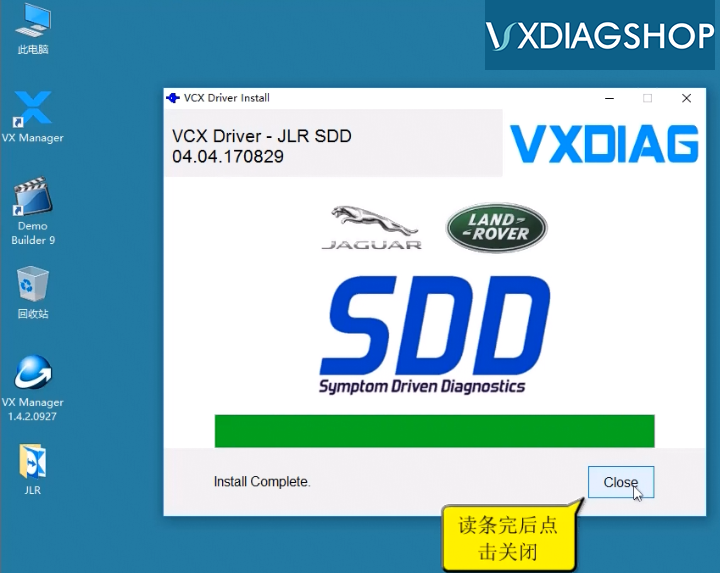
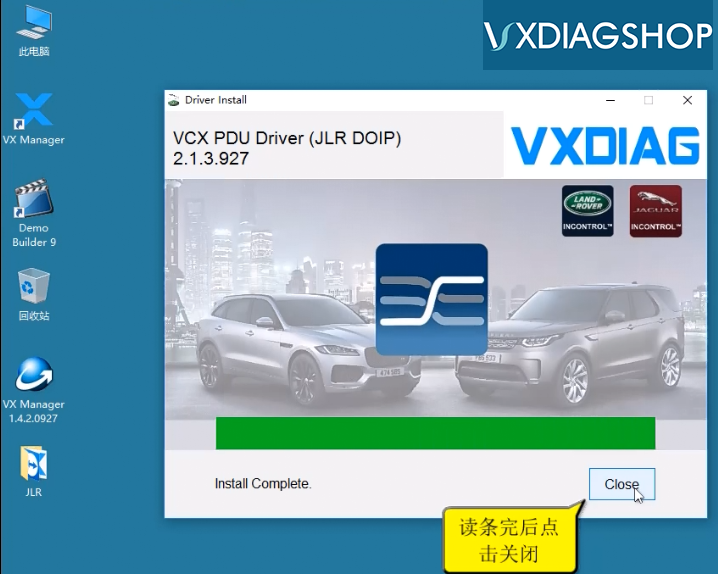
Installation completed.
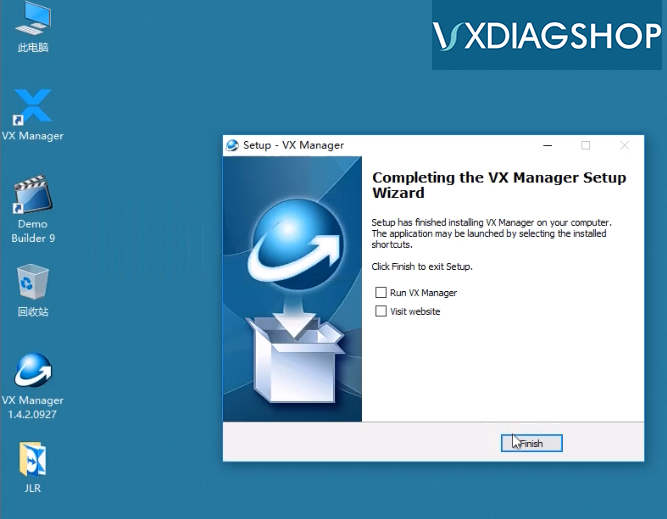
Finish installing the setup
Connect VXDIAG VCX DoIP with computer
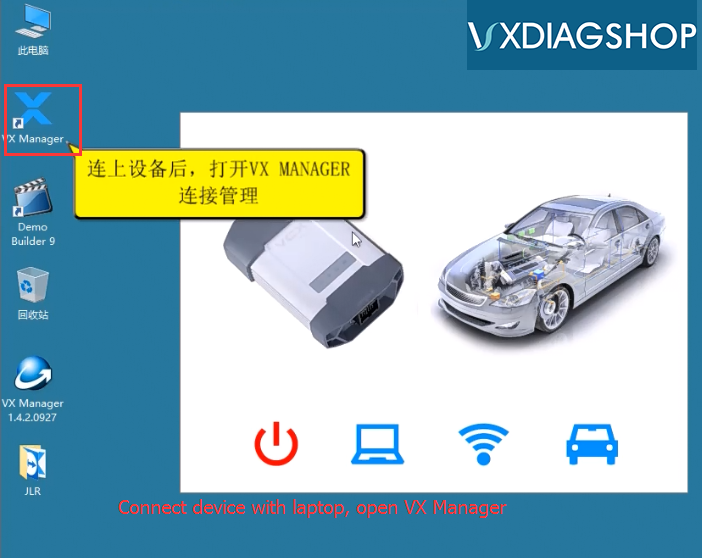
Run VX Manager on desktop
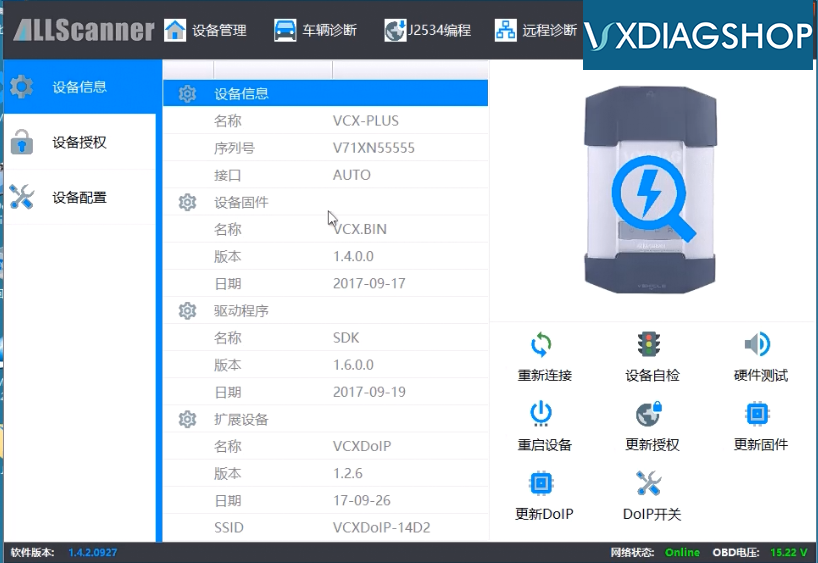
Check device serial number, driver info.
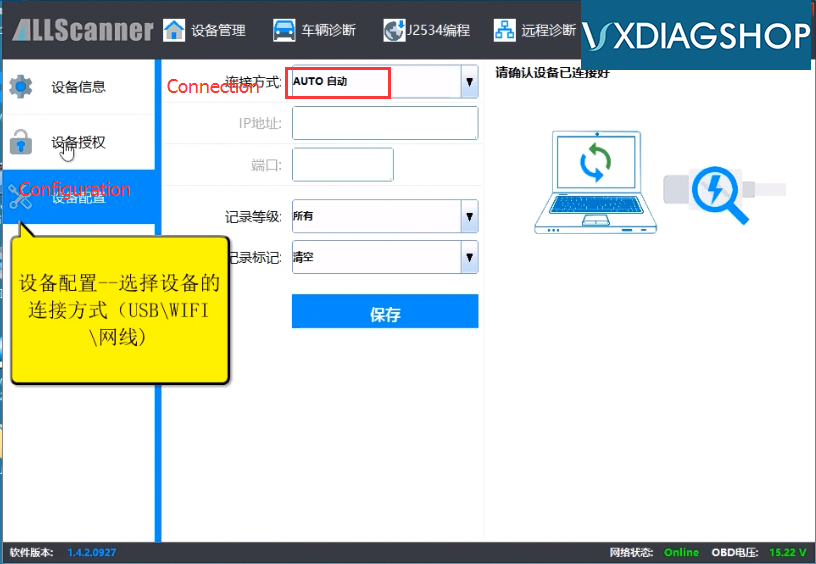
You don’t need to configure the connection, it is auto connected
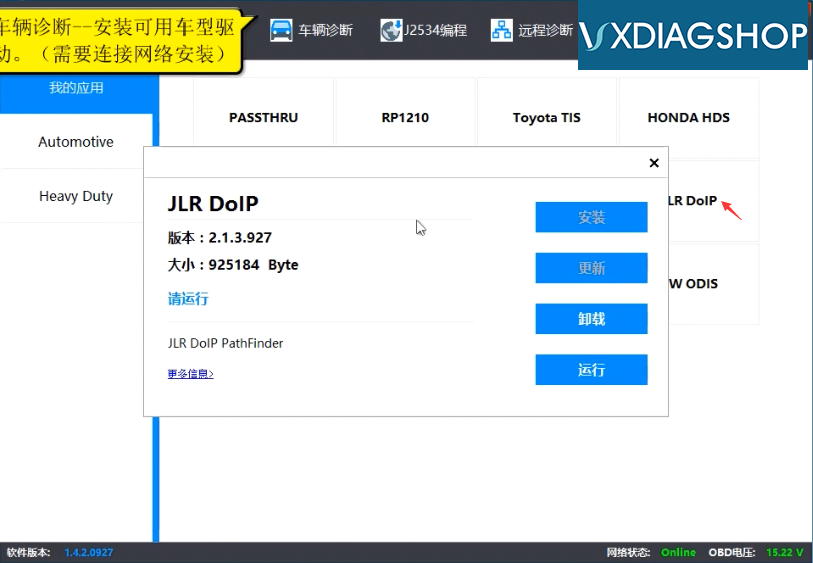
Check diagnostic software available
New VX Manager gives you DoIP options, ie, DoIP update, DoIP Switch
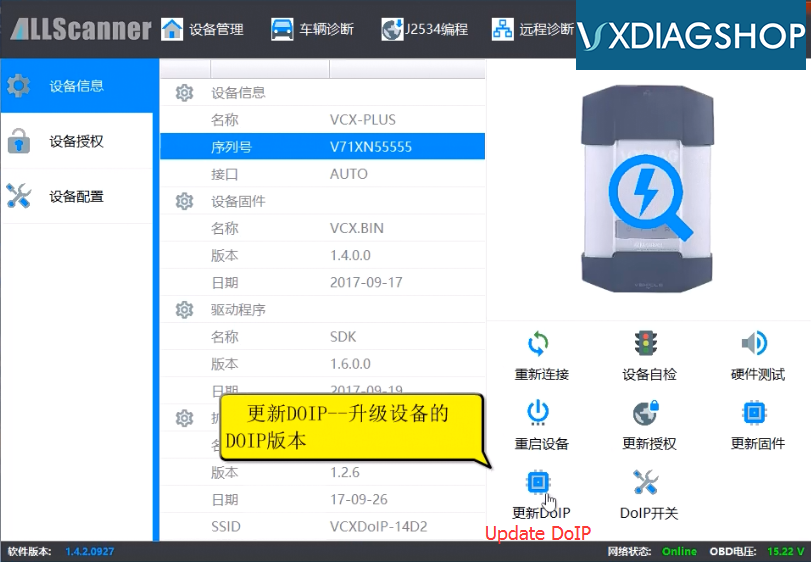
For example: DoIP Update
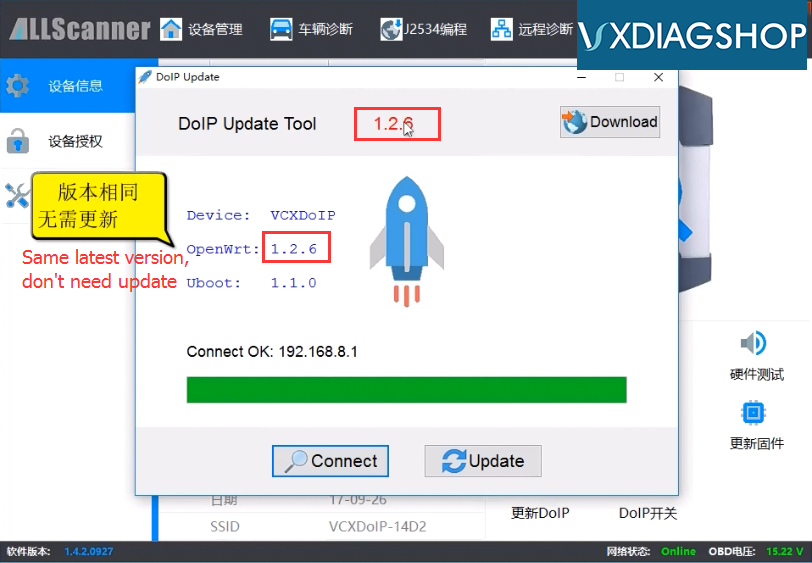
Press “Connect” button to check if there is a new update
The current version is the latest, don't need to update
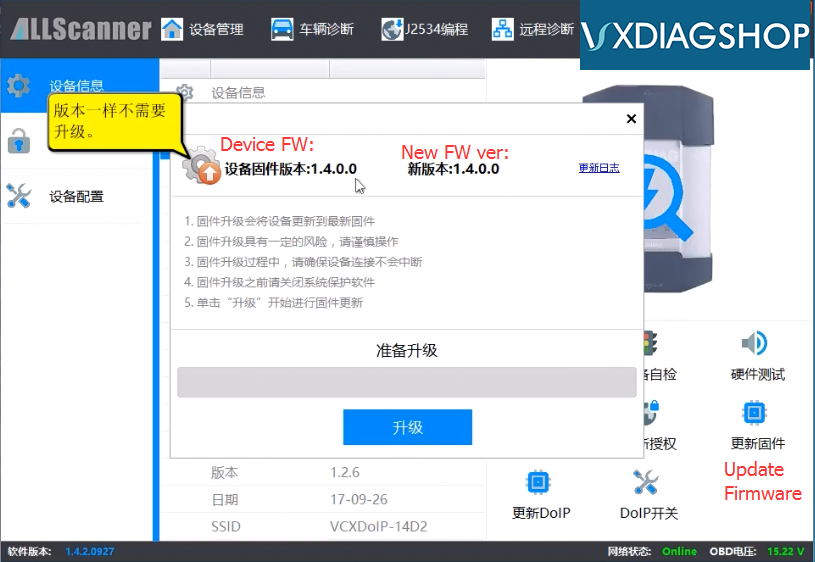
You are able to update VCX DoIP firmware as well
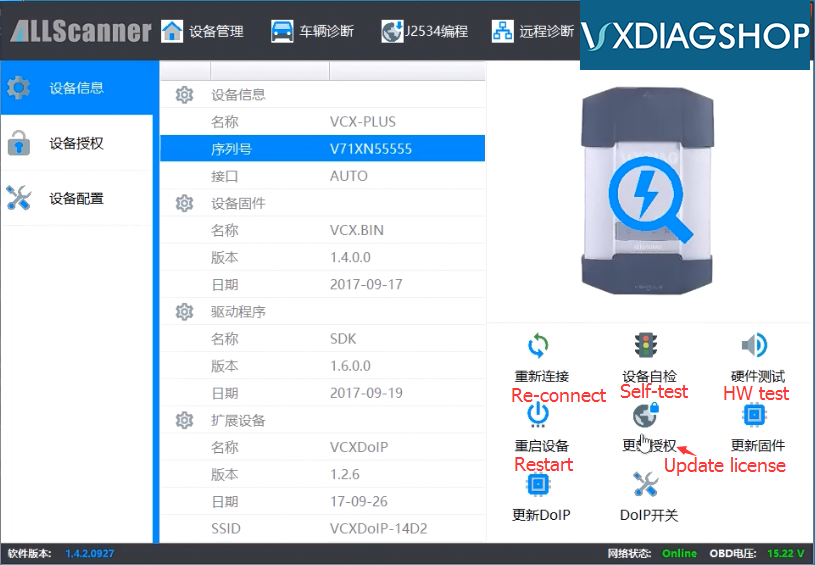
Press “Update License” if you have new software activated by vxdiagshop engineer successfully.
(This function needs internet connection).